Monitoring CM Cloud Instance Resources with Stackdriver

It's saving me a tremendous amount of time having Content Manager in my secure private cloud!  I'd like to monitor the environment though; and for that I'll use Stackdriver.  The free tier gives me everything I need for my current usage.  As I ramp up my implementation though I'll need to expand its' usage, so understanding the pricing model is a must.

First things first.... I need to install it on my VM by using this command:

invoke-webrequest "https://dl.google.com/cloudagents/windows/StackdriverLogging-v1-8.exe" -OutFile "StackdriverLogging-v1-8.exe";
.\"StackdriverLogging-v1-8.exe"

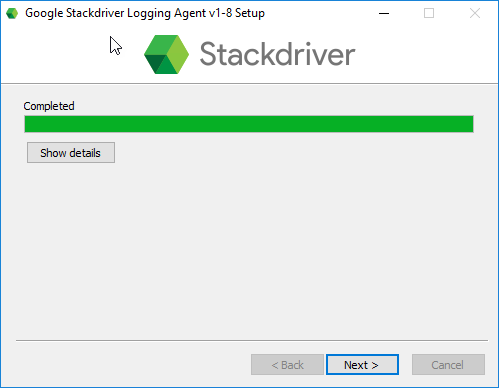
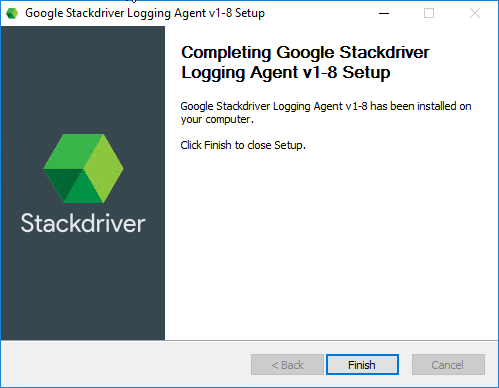
Then ran through the installer as with any other application:

2018-04-24_19-51-34.png
2018-04-24_19-55-13.png

Next I flip over to my Stackdriver homepage and BAM.... everything's already done for me:

2018-04-24_19-51-56.png

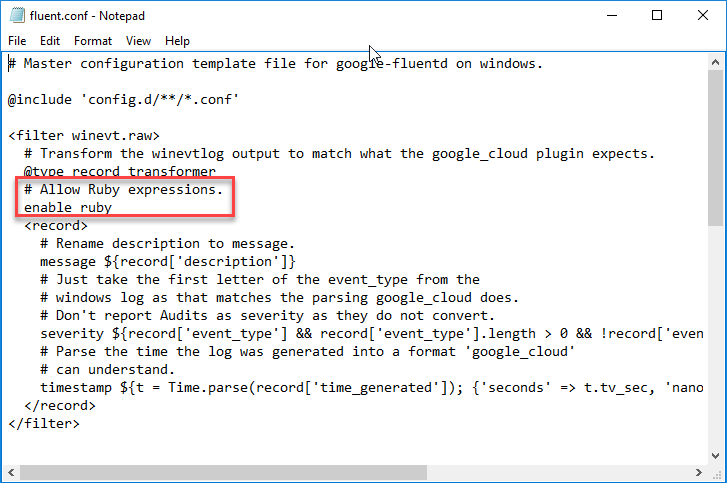
Now a natural question would be "what about content manager logs and events?".  This can be easily done!  The logging agent support ruby expressions, as shown below.

2018-04-24_20-04-41.png

I can re-use the custom grok filters I created within Elasticsearch to parse CM logging sources!  A topic for another day!  For now I'll create an alerting policy to keep me in-the-know.

2018-04-24_20-08-41.png

What I find most useful here is that you can see information about the conditions you're trying to set.  So helpful to be able to see some historical data for the metric I'm configuring an alert on.  

2018-04-24_20-10-51.png

The rest is pretty self-explanatory!  :)

Migrating On-premise PostgresSQL to Cloud SQL

In this post I'll cover what it takes to move an on-premise PostgresSQL database into a Cloud SQL instance.  I've already migrated a workgroup server, but I could have just as easily kept my workgroup server on-premise.  At the end of this I'll have all of my Content Manager infrastructure within a secure, private, fully-managed cloud infrastructure.

The first task is to generate a  SQL dump from PostgresSQL but with no extension related statements.  I'll need to install GnuWin so that I can leverage the sed command.  I executed the pg_dump command, piped the results through sed and then to disk (as shown below).

2018-04-21_22-52-36.png

Next I created a bucket named "postgressql-backup" and uploaded the file.  Although I could have done this via the command line, I preferred to use the cloud console. 

 
2018-04-21_22-56-00.png
 

Next, I go over to my Cloud SQL instance and select import. 


Then I can click Browse, navigate to the file in the bucket, and select it.


Lastly, I need to select the target database within my instance and then click Import.

 
2018-04-21_23-06-10.png
 

After clicking Import, I returned to the Cloud SQL overview dashboard to monitor the progress.  Eventually I'll see a notification once the import has completed.


Now I connect to my Content Manager Workgroup Server and launch the Enterprise Studio.  Here I am registering a dataset because I've also decommissioned the original workgroup server.  Alternatively, I could have modified the connection string of an existing dataset.  I used all of the settings from the Cloud SQL instance  when configuring the connection string, as shown below.


I completed the wizard and was shown a message indicting success.

A quick check of the client shows me everything worked. 


Sweet!  Now my DemoDB dataset fully resides within the cloud!

Migrating the SQL DemoDB to PostgresSQL

The installation media for Content Manager 9.2 comes with a demonstration dataset that can be used for testing and training.  Although I think the data within it is junk, it's been with the product for so long that I can't help but to continue using it.  To mount the dataset you have to restore a backup file onto a SQL Server and then register it within the Enterprise Studio.

SQL Server is a bit too expensive for my testing purposes, so I need to get this dataset into PostgresSQL.  In this post I'll show how I accomplished this.  The same approach could be taken for any migration between SQL and PostgresSQL.

I'm starting this post having already restored the DemoDB onto a SQL Server:

 
2018-04-21_15-15-20.png
 

If you look at the connection details for the highlighted dataset, you'll see that GIS is enabled for this dataset.  My target environment will not support GIS.  This inhibits my ability to use the migrate feature when creating my new dataset.  If I tried to migrate it directly to my target environment I would receive the error message shown below.

2018-04-21_14-12-21.png

Even if I try to migrate from SQL to SQL, I can't migrate unless GIS is retained...

2018-04-21_14-12-10.png

To use the migration feature I need to first have a dataset that does not support GIS.  I'll use the export feature of the GIS enabled dataset to give me something I can work with.  Then I'll import that into a blank dataset without GIS enabled.

 
2018-04-21_9-58-55.png
 

The first export will be to SQL Server, but without GIS enabled.  When prompted I just need to provide a location for the exported script & data.

 
2018-04-21_15-27-47.png
 

Once completed I then created a new dataset.  This dataset was not initialized with any data, nor was GIS enabled. The screenshot below details the important dataset properties to be configured during creation.

 
2018-04-21_15-31-01.png
 

After it was created I can see both datasets within the Enterprise Studio, as shown below.

 
2018-04-21_14-44-53.png
 

Next I switched over to SQL Server Management Studio and opened the script generated as part of the export of the DemoDB.  I then executed the script within the database used for the newly created DemoDB No GIS.  This populates the empty dataset with all of the data from the original DemoDB.  I will lose all of the GIS data, but that's ok with me. 


Now I can create a new dataset on my workgroup server.  During it's creation I must specify a bulk loading path.  It's used in the same manner as the export process used in the first few steps.  The migration actually first performs an export and then imports those files, just like I did in SQL Server.  


On the last step of the creation wizard I can select my DemoDB No GIS dataset, as shown below.

 
2018-04-21_14-47-13.png
 

Now the Enterprise Studio shows me all three datasets.

 
2018-04-21_15-09-44.png