Making email management as painless as possible
In a previous post I showed how a check-in style leads to newly cataloged emails kicking-off a workflow. The check-in style resulted in a new label in gmail that I tied to a filter. Items surfaced via the filter got attached to my gmail label, which in-turn created a record that initiated a workflow. It's a one-time setup that works well for handling my online form submission.
I get other emails though. Emails related to projects, for instance. Some projects may last for 2 days, whilst others may last for 2 months. When I'm on the road I don't want to have to stop and setup a new check-in style for a new project. In fact, I don't really want to have to setup a new check-in style at all. Why am I adding/removing check-in styles? Surely there's got to be a better way.

What I want to have happen
I want my check-in styles to be managed automatically. Specifically I want:
- A check-in style to exist if there are any incomplete workflows where I'm assigned to an activity and the initiating record is a container.
- A check-in style to be removed if the workflow referenced above is completed.
Time to break out visual studio and write some code!
If you're not a techie you can scroll to the very end to see the results.
First things first, I create a new class library project. I referenced the .Net SDK and imported the log4net library via the NuGet package manager. That gives me a solution that looks like this.

I specify that my Addin implements the Trim Event Processor AddIn interface, which requires that I create a method named ProcessEvent. In that method I test that the event I react to is one of the relevant events from an activity. If it is, I call the ManageCheckInStyle method I create next. Otherwise I exit out of my addin.
namespace CMRamble.EventProcessor.WorkflowCheckInStyles
{
    public class Addin : TrimEventProcessorAddIn
    {
        private static readonly ILog log = LogManager.GetLogger(typeof(Addin));
        public override void ProcessEvent(Database db, TrimEvent evt)
        {
            XmlConfigurator.Configure();
            switch (evt.EventType)
            {
                case Events.ActivityAssigned:
                case Events.ActivityReassigned:
                case Events.ActivityCompleted:
                case Events.ActivityUndone:
                case Events.ActivityCurrent:
                case Events.ActivitySkipped:
                case Events.ActivityNeedsAuthorization:
                    ManageCheckInStyle(db, evt);
                    break;
                default:
                    break;
            }
        }

    }
}
Now I create the skeleton of my ManageCheckInStyle method, like shown below.
private void ManageCheckInStyle(Database db, TrimEvent evt)
{
    try
    {
        Activity activity = new Activity(db, evt.ObjectUri);
        if ( activity != null && activity.AssignedTo != null )
        {
            log.Debug($"Activity Uri {evt.ObjectUri}");
            Workflow workflow = activity.Workflow;
            if ( workflow != null && (workflow.Initiator != null && workflow.Initiator.RecordType.UsualBehaviour == RecordBehaviour.Folder) )
            {
                if ( workflow.IsComplete )
                {
                    log.Debug($"Workflow Uri {workflow.Uri} Is Completed");
                }
                else
                {
                    log.Debug($"Workflow Uri {workflow.Uri} not completed");
                }
            }
        }
    }
    catch ( TrimException ex )
    {
        log.Error($"Exception: {ex.Message}", ex);
    }
    finally
    {
    }
}
Then I implemented each of the requirements I laid-out at the top of the post (something is assigned, and workflow is completed). First I code the logic for when something is assigned to me.
// ensure that there is a check-in style for this container
TrimMainObjectSearch styleSearch = new TrimMainObjectSearch(db, BaseObjectTypes.CheckinStyle)
{
    SearchString = $"owner:{activity.AssignedTo.Uri} container:{workflow.Initiator.Number}"
};
if ( styleSearch.Count == 0 )
{
    log.Debug($"Creating new check-in style");
    CheckinStyle style = new CheckinStyle(workflow.Initiator);
    style.RecordType = new RecordType(db, "Document");
    style.Name = workflow.Initiator.Title;
    style.StyleOwner = activity.AssignedTo;
    style.MoveToDeletedItems = false;
    style.Save();
} else
{
    log.Info("Check-in style already exists");
}
Last, I create the logic for when the workflow is completed.
// when no other assigned activities for this container
TrimMainObjectSearch activitySearch = new TrimMainObjectSearch(db, BaseObjectTypes.Activity)
{
    SearchString = $"workflow:[initiator:{workflow.Initiator.Number}] assignee:{activity.AssignedTo.Uri} not done"
};
if (activitySearch.Count == 0 )
{   // there are no other assigned activities
    TrimMainObjectSearch styleSearch = new TrimMainObjectSearch(db, BaseObjectTypes.CheckinStyle)
    {
        SearchString = $"owner:{activity.AssignedTo.Uri} container:{workflow.Initiator.Number}"
    };
    foreach (CheckinStyle style in styleSearch)
    {
        style.Delete();
    }
}
That's it. I hit compile and I have a valid add-in. I go and register it in the Enterprise Studio, like shown below.

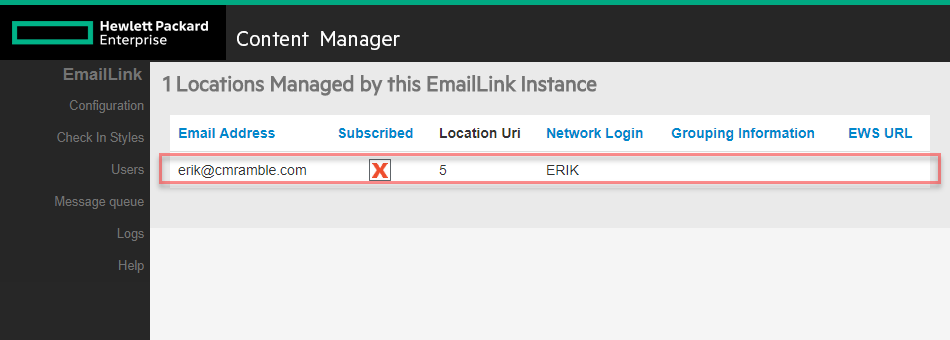
To test I go find a project folder and attach a workflow (assigning it to myself). I then flip on over to my email and see the title of that project folder is now a label in my email (or a folder if using Outlook).

If I complete the workflow the check-in style is automatically removed. Sweet! Now I can focus on my real work, and not the constant maintenance of my linkage between email & content manager.